At this post I will share simple tips to manage and enable image upload in TinyMCE combine with php.
1. First Step you must download TinyMCE plugin then extract the files tinymce_3.5.7.zip (TinyMCE version that I use).
2. Create a folder "myproject" in the root directory on the local server (C:\xampp\htdocs\ is the root directory on my local server).
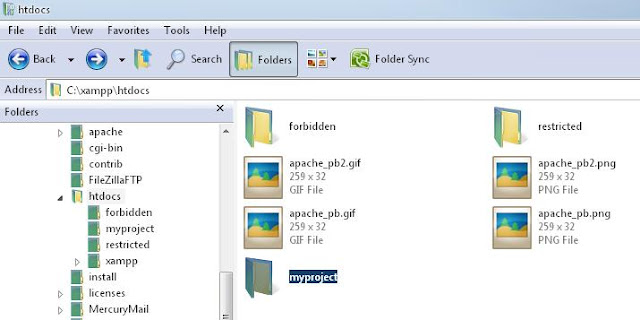
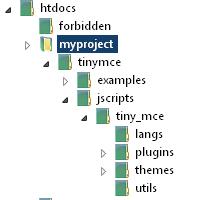
3. Copy TinyMCE plugin that has been extracted to the directory "myproject"

function DisplayImage (field_name, url, type, win) {
var cmsURL = 'http://localhost/myproject/imagelist.php';
if (cmsURL.indexOf("?") < 0) {
cmsURL = cmsURL + "?type=" + type;
}else {
cmsURL = cmsURL + "&type=" + type;
}
tinyMCE.activeEditor.windowManager.open({
file : cmsURL,
title : 'Image Browser',
width : 600,
height : 400,
resizable : "yes",
inline : "yes",
close_previous : "no"
}, {
window : win,
input : field_name
});
return false;
}
There are some important parts you need to know to configure the pop-up window:
var cmsURL = 'http://localhost/myproject/imagelist.php';The script above is useful to configure the location of the page that is loaded when the pop-up window appears.
width : 600,width: 600 // means to determine the value for the width of the pop-up window
height : 400,
resizable : "yes"
height : 400 // means to determine the value for the height of the pop-up window
resizeable : "yes" // specified value means that the pop-up window can be resized.
To initialize the TinyMCE text editor we can use the script tinyMCE.init. Here is a script tinyMCE.init :
tinyMCE.init({6. Make imagelist.php file and save the file in the directory "C:\xampp\htdocs\ myproject\". You can download the file imagelist.php by clicking the download imagelist.php.
file_browser_callback : 'DisplayImage',
mode : "exact",
elements : "konten",
theme : "advanced",
relative_urls : false,
remove_script_host : false
});
Download myproject.zip
7. Run in your browser by type url "http://localhost/myproject/". If you have configured correctly then you can upload images through TinyMCE.


